
The good news is that equalization (EQ) doesn’t have to be complicated.
In fact, if you’re just beginning your journey into music production, learning how to use EQ correctly will improve your mixes more than almost any other skill. Before you start worrying about compressors, reverbs, delays, saturation, or expensive plugins, it’s important to understand one simple concept:
EQ is about creating space.
Once you understand that idea, mixing becomes much easier. In this tutorial, we’re going to walk through the same thought process professional engineers use when they begin mixing a song.
What Is EQ?
EQ, or equalization, is the process of increasing or decreasing specific frequencies within an audio signal. Think of every instrument as having its own space inside a room. If everyone is trying to stand in the exact same spot, people start bumping into each other. The room feels crowded.
Your mix works the same way.
When multiple instruments occupy the same frequency range, they begin fighting each other. This is called frequency masking. Instead of hearing each instrument clearly, everything starts sounding muddy, cluttered, and difficult to understand. The purpose of EQ isn’t to make everything louder. It’s to help every instrument have its own place in the mix.
Start With Organization
Before touching a single EQ plugin, organize your session. Professional mixers spend a surprising amount of time preparing their projects because an organized session allows them to make better decisions faster.
Some easy habits include:
- Color-code similar instruments
- Group guitars together
- Send vocals to a vocal bus
- Organize bass, drums, and lead instruments into their own groups
- Label every track clearly
A clean session helps you focus on listening instead of searching for tracks.
Listen Before You Mix
One of the biggest mistakes beginners make is reaching for plugins before they even know what’s wrong. Instead, press play. Listen to the entire song.
Ask yourself:
- Which instrument is the focus?
- What sounds muddy?
- What sounds harsh?
- Which instruments are fighting each other?
- What needs more clarity?
During our tutorial, we immediately noticed something important:
The acoustic guitars and the vocals were living in nearly the same frequency range. That meant they were masking each other. Now we knew exactly where to begin.
Begin With the Main Instrument
Every song has something that deserves the listener’s attention first. Sometimes it’s the vocal. Sometimes it’s the lead guitar. Sometimes it’s the piano. In our example, the vocals were the most important element, but the acoustic guitars carried the rhythm of the song. So we started by improving the acoustic guitars.
Create Width Before Using EQ
One of the quickest ways to open a mix is with panning. Instead of leaving both acoustic guitars directly in the center, we panned one hard left and the other hard right. Instantly, the center of the mix became less crowded. Without changing a single EQ setting, the vocals became easier to hear. Sometimes simple moves like panning solve problems before EQ is even necessary.
Use High-Pass Filters to Remove Unnecessary Low End
Many instruments contain low-frequency information that isn’t actually useful. Acoustic guitars, vocals, electric guitars, and many other instruments don’t need deep sub frequencies. That’s where a high-pass filter becomes incredibly useful. A high-pass filter removes unwanted low frequencies while keeping the important parts of the sound intact.
As we slowly increased the filter, we listened carefully. The goal wasn’t to remove as much bass as possible. The goal was to remove only the frequencies we couldn’t hear anyway.
The result?
The guitars still sounded full, but now the bass guitar had much more room to live.
Find Frequency Masking Using the Sweeping Technique
One of the easiest ways to locate problem frequencies is called frequency sweeping.
Here’s how it works:
- Create a wide EQ band
- Boost the gain significantly
- Slowly sweep across the frequency spectrum
- Listen for areas where the sound suddenly becomes harsh, muddy, or cluttered
Those ugly-sounding frequencies usually reveal where masking is happening. Once you find the problem area, reverse the boost into a gentle cut. Instead of boosting everything you want, you’re removing what the mix doesn’t need.
This simple technique immediately allowed the vocals to sit naturally on top of the guitars.
Less Is More
One lesson that takes years to learn is this, good EQ usually sounds boring by itself. Many beginners expect dramatic changes. Professional engineers usually make subtle adjustments. If you bypass your EQ and the instrument suddenly sounds completely different, you’ve probably gone too far.
Instead, listen for small improvements. The instrument should sound cleaner. The mix should feel more open. Everything should fit together more naturally. Those tiny improvements add up across every instrument.
Use Shelving EQ to Add Character
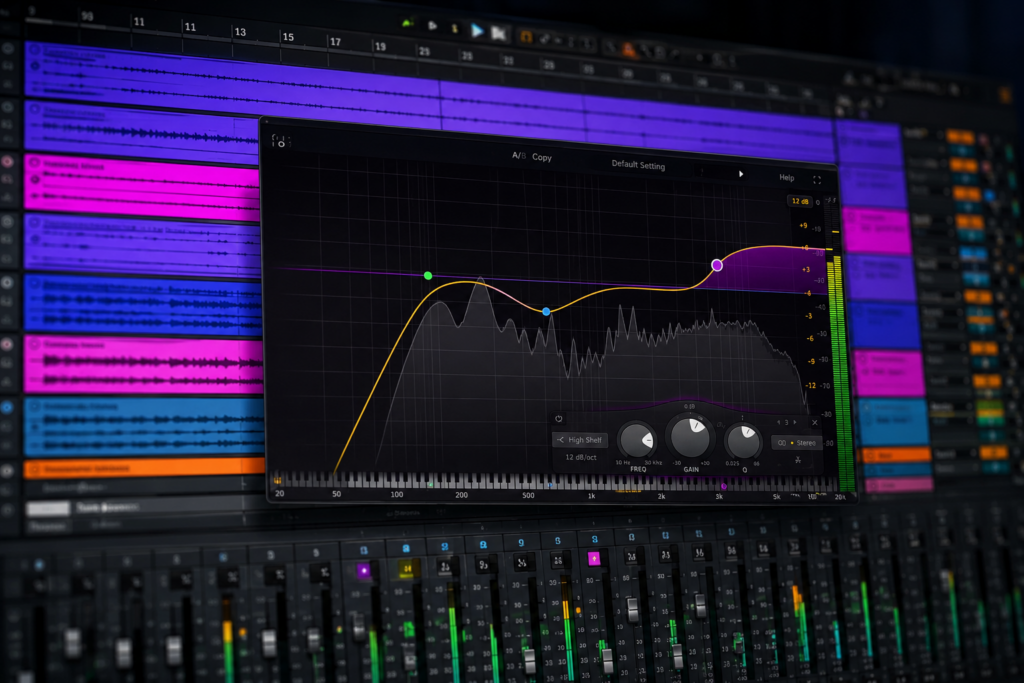
After cleaning up unnecessary frequencies, we added a gentle high shelf to the acoustic guitars. A high shelf boosts the upper frequencies, adding brightness and clarity. Rather than making the guitars louder, they became easier to hear.
Later, we used a low shelf on the bass guitar. Because we’d already removed unnecessary low frequencies from the guitars, the bass now had plenty of room to occupy those frequencies.
Instead of competing with the guitars, the bass became deeper, fuller, and easier to feel. That’s exactly what EQ is supposed to accomplish.
EQ the Vocals
Once the instruments had space, it was time to improve the vocals. Using the same sweeping technique, we located muddy midrange frequencies and gently reduced them. Immediately, the vocal became clearer. Next, we added a small high shelf to introduce more presence and air.
Notice something important, we didn’t dramatically boost the vocal. Instead, we removed frequencies that were getting in its way. Professional mixes often become bigger by removing information, not adding more.
Balance Is More Important Than Loudness
As the song progressed, new instruments entered the mix (lead guitar, background vocals, harmony vocals). Instead of constantly reaching for more EQ, we simply adjusted their levels.
Sometimes a track doesn’t need additional processing. It just needs to be quieter. One of the easiest ways to improve your mix is by asking:
Does this instrument actually need to be this loud?
Often, lowering a track by just 2 or 3 dB creates more clarity than any plugin could.
Every EQ Move Needs a Purpose
One of the biggest takeaways from this lesson is that every EQ decision should have intent. Avoid random boosts because someone online said guitars should have more highs. Avoid cutting frequencies because you saw a chart on social media.
Instead, ask yourself:
- What problem am I solving?
- What instrument needs more space?
- What frequency is causing the issue?
- Is this improving the entire mix?
When you begin thinking this way, your mixes become more consistent.
Your Plugin Doesn’t Matter as Much as Your Ears
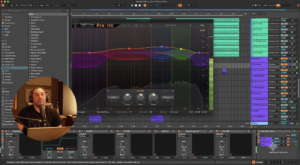
During the tutorial, we used FabFilter Pro-Q because it’s one of our favorite EQ plugins. However, you do not need expensive software to create great mixes. Every major DAW includes excellent stock EQ plugins. Whether you use Pro Tools, Logic Pro, Ableton Live, FL Studio, Reaper, Cubase, or Studio One, the same principles apply.
Learning how to listen will always be more valuable than buying another plugin.
Final Thoughts
A great mix isn’t built with dozens of plugins. It’s built through intentional decisions. In this lesson, we used nothing more than basic panning, volume adjustments, and EQ to transform an ordinary recording into a balanced, clear mix.
- We didn’t use compression.
- We didn’t add reverb.
- We didn’t automate anything.
Yet the song immediately sounded cleaner because every instrument finally had room to breathe.
As you continue learning, remember this simple idea:
EQ isn’t about making an instrument sound better by itself. It’s about helping every instrument work together.
Master this concept first, and every future mixing technique—from compression to reverb and automation—will become much easier to understand.
Download the Free Practice Session
Want to practice these techniques yourself?
Download the exact multitrack session featured in this lesson and follow along inside your own DAW. The best way to improve your mixing skills is by making the same EQ decisions yourself and training your ears to recognize frequency masking, clarity, and balance.
Stay tuned for the next lesson in our Learn with Let Down series, where we’ll begin exploring compression, automation, and the next building blocks of creating professional mixes.